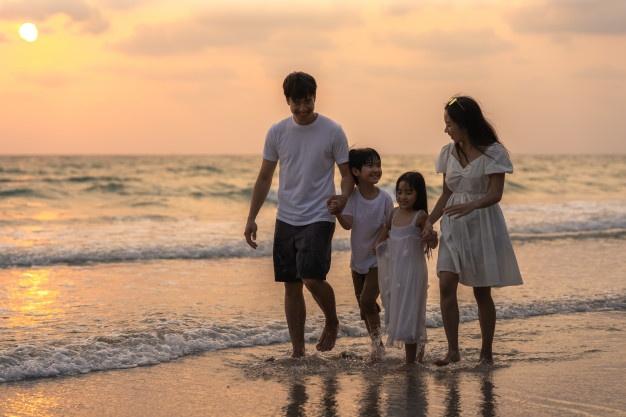
The sky can be a beautiful subject for photography. Photography of the sky at sunrise/sunset is a wonderful way to capture its beautiful colors. Photography at sunset and sunrise gives photos a different feeling. It's a good idea also to photograph during the golden hour.
YouCam Perfect
The YouCam Perfect app is essential for anyone who has ever taken a photo and wants to improve it. The extensive range of photo editing tools, as well as hyper-realistic filters, allow you to create stunning visual effects. You can modify your photos using the app, including adding frames, stickers and animations to your photos. The app's sky replacement tool allows you to replace the sky in photos.
The YouCam Perfect photo editing app features a powerful real-time beautification feature, which enables you to add or remove beauty effects to your photos. YouCam Perfect also features an intuitive user interface, advanced artificial intelligence and augmented reality technologies to give your photos a unique look. It also offers Beauty Circle, a fashion social network where users can share images and discover the latest fashion trends.
BeFunky
Changing the color of the sky in a picture can be done with the Replace Color tool in BeFunky. There are two options for the Replace Color tool: the Source Color or the Target Color. The Source Color refers to the original color of the image, while the Target Color represents the color you wish to change. The latter will allow you to replace the sky overexposed in your image with the desired color.
BeFunky is a free picture editing app that allows you to change the color of any picture. It allows you to delete background from portraits. You can choose from a wide range of stock photos, vector graphics, icons, and other graphic elements. It works in your browser. You can also use it on mobile devices. It is free to download and use, and it has numerous photo editing options and a top-notch user interface.
BeFunky's replace color tool
BeFunky's Replace Color feature allows you to change colors in your sky picture. You have two choices: Target Color (Source Color) and one (Target Color). Select the Source Color first and then choose the color that you want to replace. The Tolerance slider can be adjusted to change the color of your sky.
You can replace the color in any area of the photo with another color using the Replace Color tool. You can match any color palette to create a completely new picture. The Replace Color tool is also very useful in creating unlimited wardrobe. You can change the colors of clothes and dress patterns. It produces realistic results.
YouCam Perfect's Change Background tool
YouCam Perfect offers a Change Background option that will allow you to change the background of your sky photos. This app has 30 sky replacement options. It makes it super easy to change the sky on your photos. In just a few steps, you can alter the sky's color to match your preference. You can zoom in to adjust sliders and make your sky perfect.
Fun animations are also available to enhance your photos. You can give your photo a more youthful look or add sparkle. The app allows you to export your animated GIFs, videos, and perfect shapes for Instagram. You can even choose to upgrade to the premium version for unlimited editing for two photos each day.
FAQ
Which camera is best for beginners?
The best camera to use for beginners is dependent on your needs, budget, and skill level.
You might consider a point-and shoot digital camera if you are trying to save money. These cameras have a good quality, but they are not very versatile.
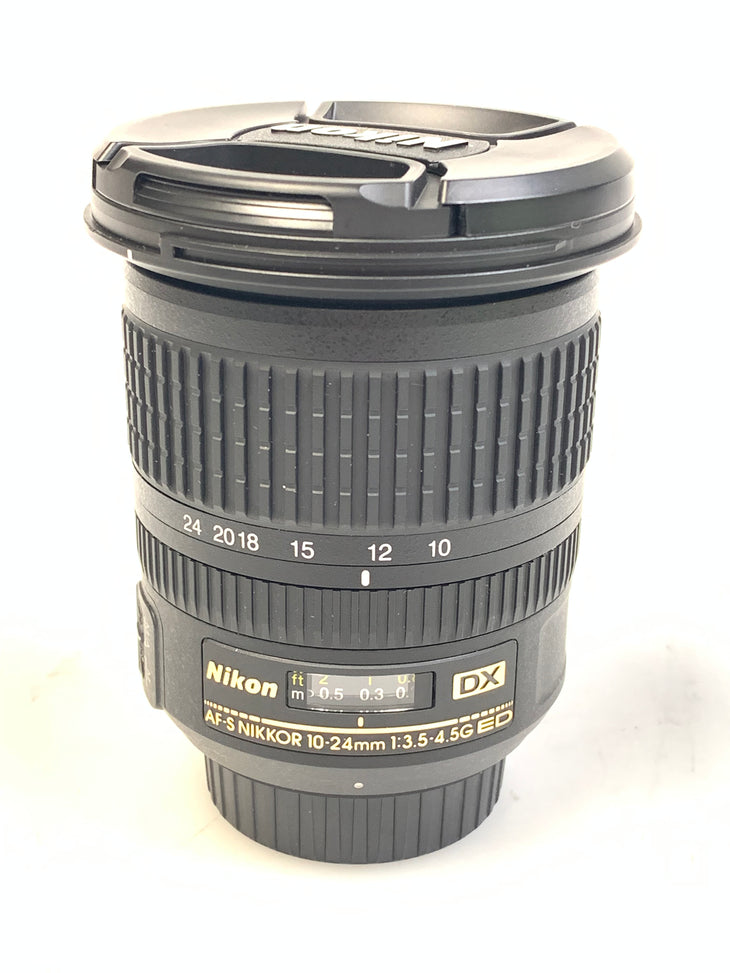
Digital Single Lens Reflex cameras come with interchangeable lenses which allow you to capture different types of images. These lenses are usually more expensive than point-and shoots, but offer greater flexibility.
A beginner's package is a great way to get started in photography. Everything you will need, including a tripod, flash, memory cards and lens, can be found in one package.
Don't forget to buy extra batteries too!
Should I start photography as a hobby?
Photography is an excellent way to capture memories and share them with friends and family. It allows you to discover more about the world.
You can find a lot of online resources that will teach you how to take better images.
Consider taking classes at your local community college or art school. This allows you to meet other photographers who can provide valuable feedback on your work.
What can I do to improve my photography skills with my phone?
To take amazing photos, you don't necessarily need to have expensive equipment. Amazing images can be captured with a smartphone.
It's easy to get started with the software.
Many apps are available for iOS and Android that allow you to easily edit and share photos.
These five tips will help you take better photos.
-
Set Up Your Camera App. Your camera app should come pre-installed on your device. If it is not installed, you can download it from Google Play.
-
Use effects and filters. Effects and filters allow you to alter the appearance of your photos without needing to touch them.
-
Adjust Exposure. You can adjust the exposure to control the brightness of your photo.
-
Shoot In The Right Light. Shooting in bright light makes it easier to see details in your subject. Photographing in low light conditions allows you to capture the highlights and shadows of your image.
-
Take Pictures Of People. You can share the things that you love most by taking photos of others.
Check out this article to learn how to take better pictures with your smartphone: 5 Tips To Improve Photography Skills
How can I learn photography on my own?
If you want to learn how to take great photos, there are many ways to do this. There are many options: you can buy a book, take a class or join an online community. You can also watch YouTube tutorials. But if you want to master the art of taking pictures, there's nothing better than doing it yourself! So you can decide what goes into each picture. And you'll continue to improve as long you keep learning.
One of the greatest things about digital photography, however, is the fact that you don’t need expensive equipment. All you require is an internet-enabled computer and a good camera. The rest is up for you.
Here are some ways to get started.
-
Learn how to use the manual settings on your camera.
-
Learn how to use the basic controls.
-
Make sure to take lots of pictures.
-
These should be edited.
-
These should be shared.
-
Keep practicing.
-
Experiment.
-
Explore different perspectives and angles.
-
Use light sources creatively.
-
Practice makes perfect.
-
Do not be afraid to fail.
-
Be patient.
-
Have fun
What makes a camera bag good?
It is essential to choose a camera bag that protects your gear when you travel. Here are some factors to keep in mind when choosing a bag.
-
Size: Choose a big bag to hold your camera and accessories comfortably. Do not buy more than you need.
-
Durability: Bags made of durable materials such leather, canvas and nylon are best. Avoid plastic and fabric bags.
-
Protection: Make your bag waterproof against dirt, moisture and scratches
-
Organization: Organize your gear by type so you can quickly access what you need. For example, put your lenses in one compartment, your memory cards in another, and your battery charger in yet another.
-
Comfort: Instead of carrying a bag, use a shoulder strap. Comfortable designs with padded shoulders are also recommended.
-
Price: Compare prices to get the best deal. Discounts are sometimes offered by some brands, which can be a bonus.
-
Warranty: Ask if the company offers a warranty on its products. This will ensure that you are able to contact the right person if something happens to your bag.
Statistics
- This article received 13 testimonials, and 100% of readers who voted found it helpful, earning it our reader-approved status. (wikihow.com)
- The second easiest way to get blurry photos 100% of the time is to use a cheap filter on the front of your lens. (photographylife.com)
- Get 40% off Adobe Creative Cloud(opens in new tab) (creativebloq.com)
- That's the easiest way to get blurry photos 100% of the time. (photographylife.com)
External Links
How To
How to Use Lightroom in Photography
Adobe Lightroom allows photographers to edit photos quickly and efficiently. It allows you to import your images into one place where they can be viewed, edited, cropped, lightened, and saved. You can share them online or print them.
Lightroom has many editing tools, including cropping, adjusting contrast, brightness, and color balance. Lightroom also offers presets to make common effects like vignette, lens distortion, and black and white conversion. These changes can be applied automatically when you export your image.
Adobe Bridge lets you access Lightroom. It allows you to organize your files and view thumbnails, while browsing your collection. You can even add keywords and phrases to your images so that you can find them later.
Lightroom is free if this is your first time using it. This provides all the basics. There are two options available if you choose to upgrade. You can either purchase the full version right away or subscribe.
Lightroom can downloaded in many ways. Adobe may offer the software for purchase. Another way is to download the trial version and convert it to a paid license. Here's how you can do it.
-
Lightroom Trial Version
-
Launch the program and click "Convert to License" at the bottom of the window.
-
Choose the type of license you want (one year or perpetual) and enter your payment details.
-
To finish the process click "Continue".
-
Once the trial version has been converted to a paid licence, you can continue using the license until the end.